
Many smart home enthusiasts, including me, use the application room-assistant to detect presence on a room-by-room basis. Normally, you would install room-assistant on a bunch of Raspberry Pi Zeros and place them around the home. Thanks to Docker, you can spare yourself one Raspberry Pi, as room-assistant can also be installed on Unraid using Docker.
What makes room-assistant different from other presence sensors, is that it uses Bluetooth and Bluetooth Low Energy to detect smartphones, smartwatches, and BLE tags in your home. Compared to the commonly used motion sensor, it has the advantage of being able to detect people who aren’t moving, and room-assistant won’t get falsely triggered by any pets, unless you equip them with BLE tags.
What you will need to install room-assistant on Unraid
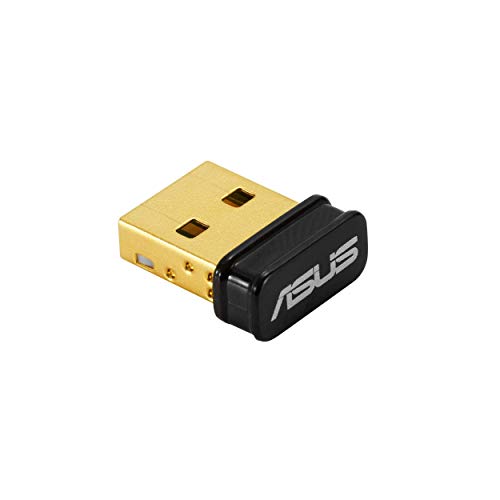
There is only one piece of hardware needed for room-assistant: a Bluetooth radio. If your motherboard doesn’t have one, or if it does, but it isn’t supported by Unraid, you will need to buy yourself a cheap dongle. I went with the ASUS USB-BT500 Bluetooth adapter and can confirm that it is compatible with Unraid. In theory, and Bluetooth adapter compatible with Linux 5.10.28, will talk nicely with Unraid.
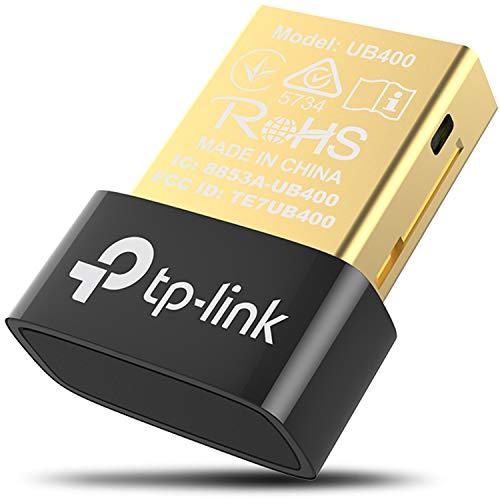
According to this thread on Reddit, the cheaper TP-Link UB400 also works under Linux and thus, should be compatible with Unraid. Keep in mind that that dongle only supports Bluetooth 4.0, while the more expensive ASUS model supports Bluetooth 5.0.
Making sure Unraid detects the Bluetooth adapter
I had to reboot my Unraid server for it to recognize my ASUS USB-BT500 Bluetooth adapter, though I am certain there are ways of achieving the same thing without needing to shut down the server. If everything has worked out as you planned it, the Bluetooth USB adapter will make an appearance in the System Devices under the Tools tab in the Unraid dashboard.
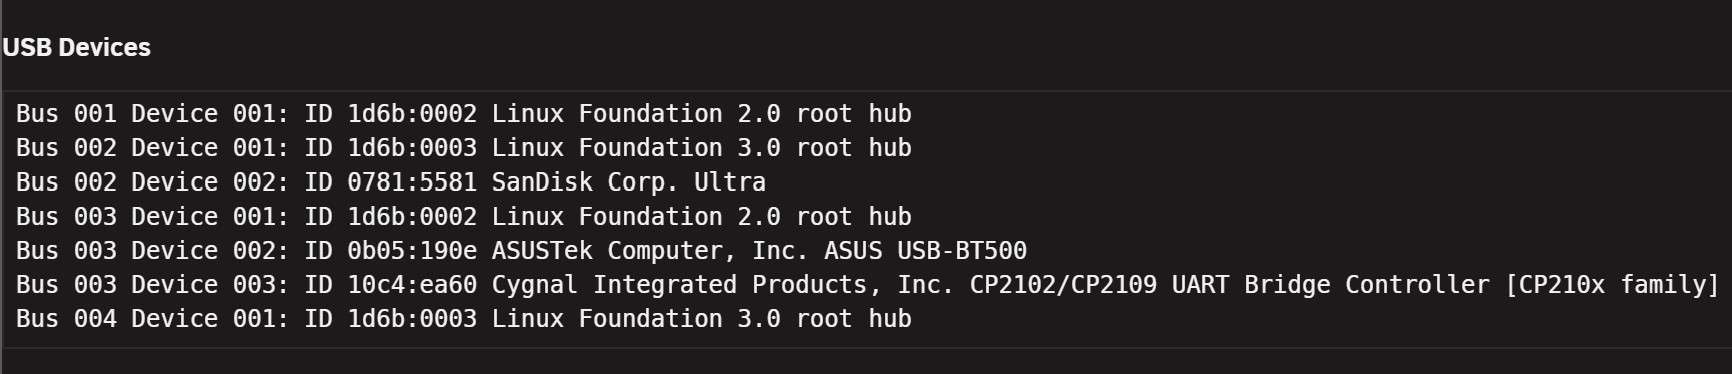
In the screenshot, you can see my ASUS USB-BT500 Bluetooth adapter show up alongside my Zigbee adapter I use for Zigbee2MQTT and my SanDisk Ultra boot device. If your adapter doesn’t show up in this list, it might not be supported.
Have your MQTT broker ready
While room-assistant on Unraid requires no further hardware, you will need an MQTT broker installed and set up. I have previously documented how to set up Mosquitto on Unraid, and I will refer you to that article if you don’t have an MQTT broker installed yet.
MQTT (Message Queuing Telemetry Transport) is the perfect network protocol for connecting remote devices, such as those used on the Internet of Things (IoT). It has a small code footprint and uses minimal network bandwidth.
Manually installing room-assistant
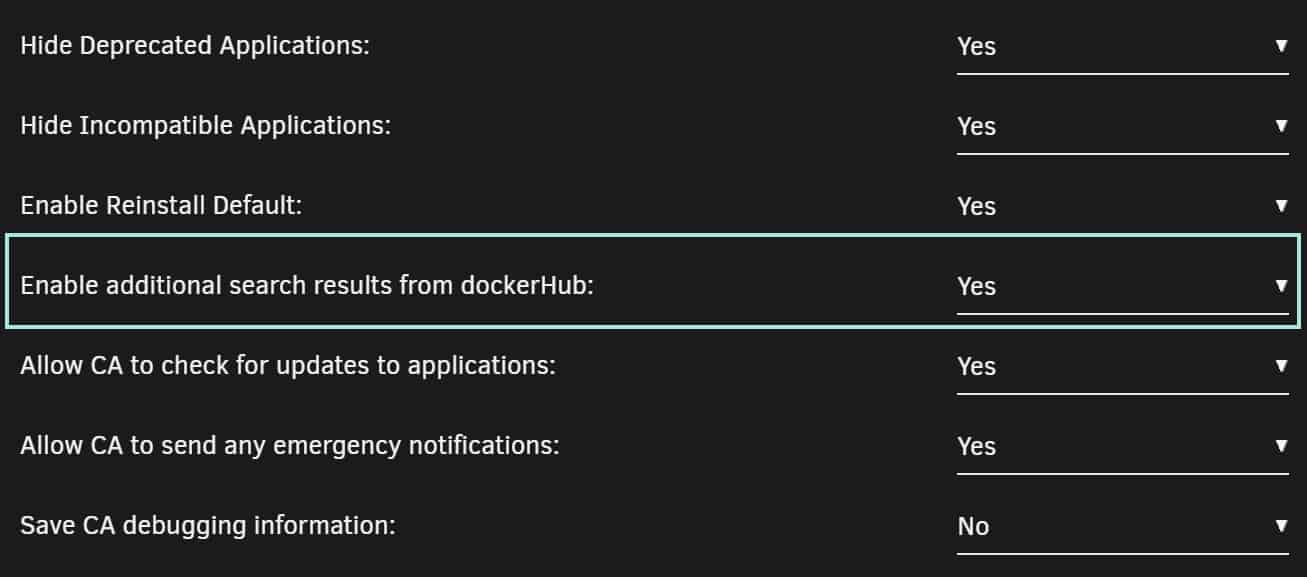
Currently, there is to template for room-assistant available in the Community Applications. Because of that, you will need to set it up manually. To start off with, you will have to enter the Community Applications’ settings. In there, enable the option to show search results from Docker Hub.
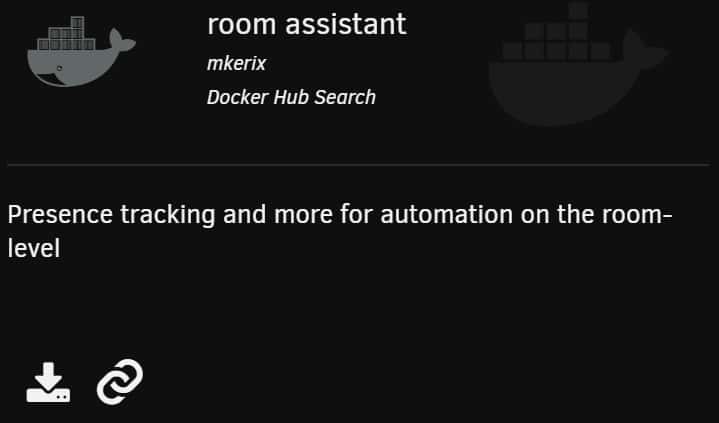
With the setting applied, head back in to the Community Applications dashboard and search for mkerix/room-assistant. You will have to click the link to extend the search to Docker Hub. The correct Container Image should appear in first position. Click on the installation icon to begin room-assistant’s setup.
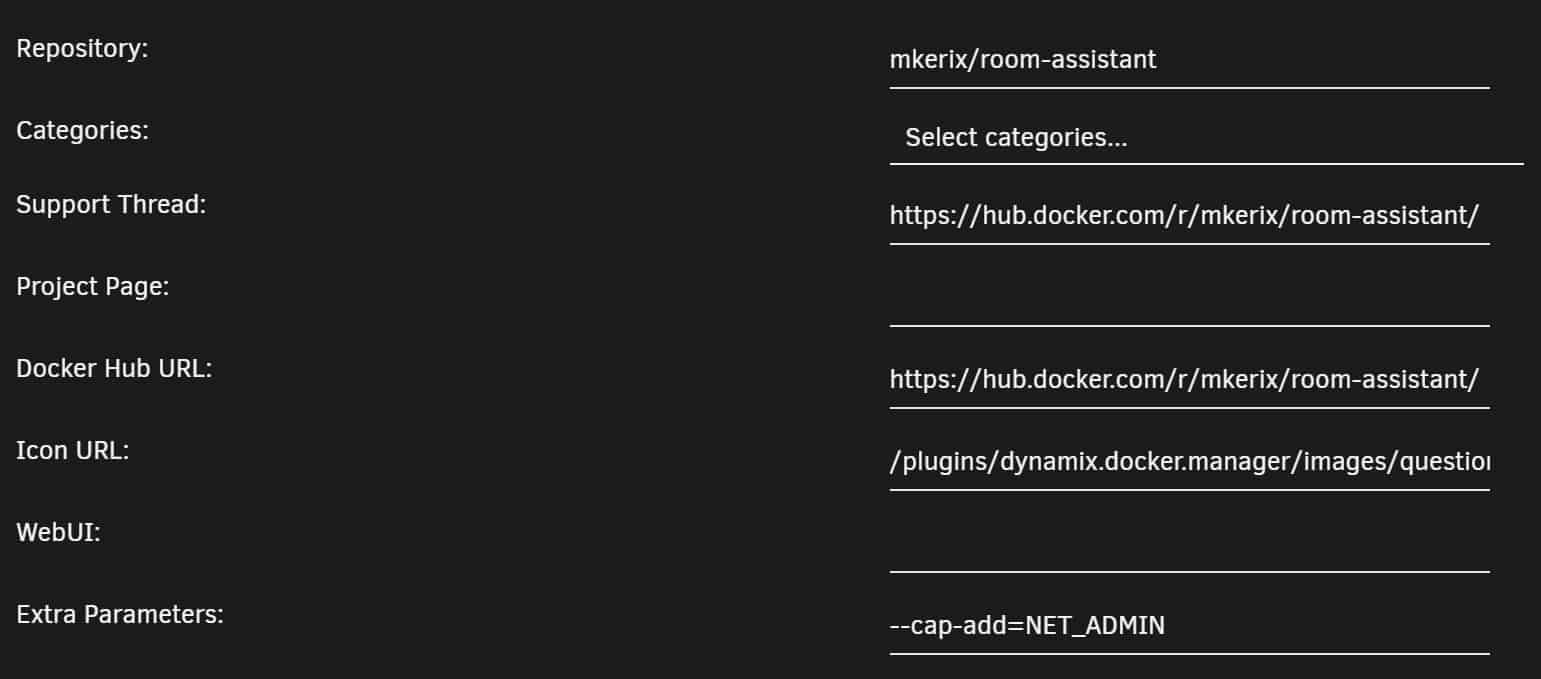
Enable the advanced view in the container’s settings, and make the following changes:
- Add the extra argument
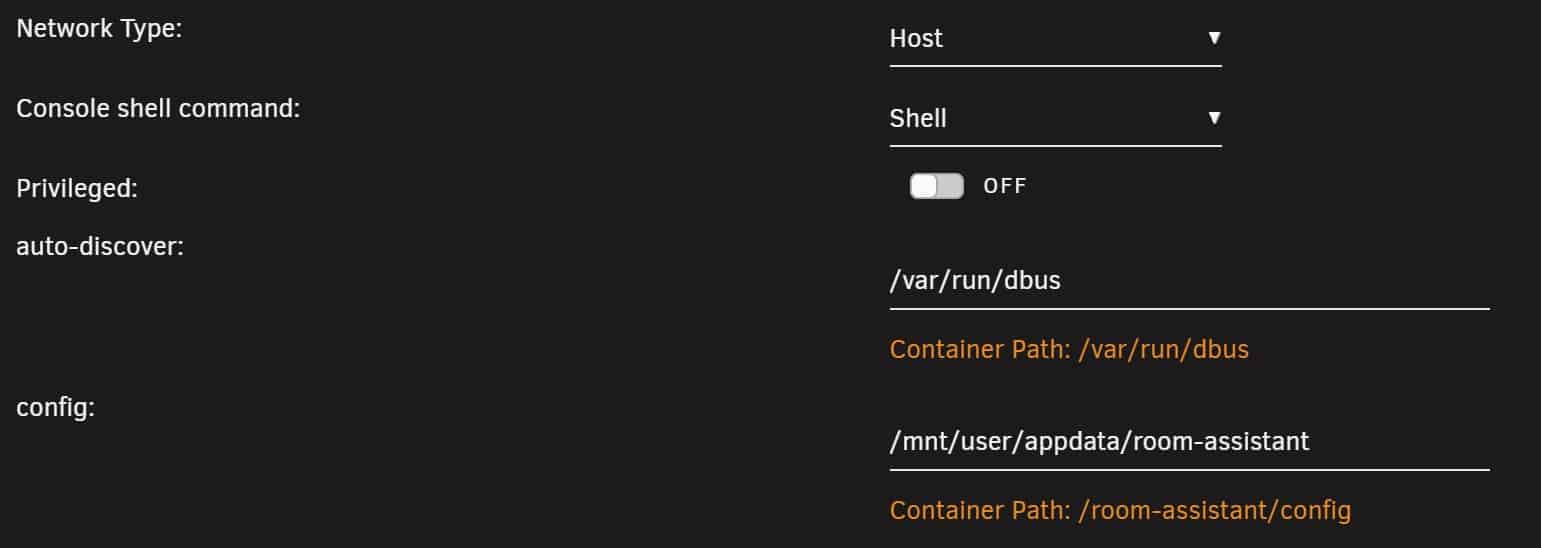
--cap-add=NET_ADMIN. - Set the network type to
host. - Map the path
/var/run/dbusto/var/run/dbus. This enables discovery capabilities in the Docker container. - Map the host path
/mnt/user/appdata/room-assistantto/room-assistant/configin the Docker container. This is where your configuration file will be stored.
Once applied, the Docker container image will be downloaded and installed. In the next step, you will need to edit a config file, and I recommend installing code-server to do that.
Using code-server, or any other editor, you will need to create a file with the name local.yaml in the /mnt/user/appdata/room-assistant folder. If that folder doesn’t exist yet, you will need to create it first.
Copy the following code and make the following changes:
- Add the name of this instance to
instanceName:. The best option is to enter the name of the room your Unraid server resides in. - Add the URL of your MQTT server to
mqttURL:and enter a username and password to allow room-assistant to access it.
global:
  instanceName: NAME
  integrations:
    - homeAssistant
homeAssistant:
  mqttUrl: 'mqtt://192.168.1.10:1883'
  mqttOptions:
    username: YOUR-MQTT-USERNAME
    password: YOUR-MQTT-PASSWORD
You can additionally add any of the available integrations to your configuration. As you will be using this instance to track Bluetooth/BLE devices, you will most likely want to add Bluetooth Low Energy. If you don’t use Home Assistant, simply remove the line.
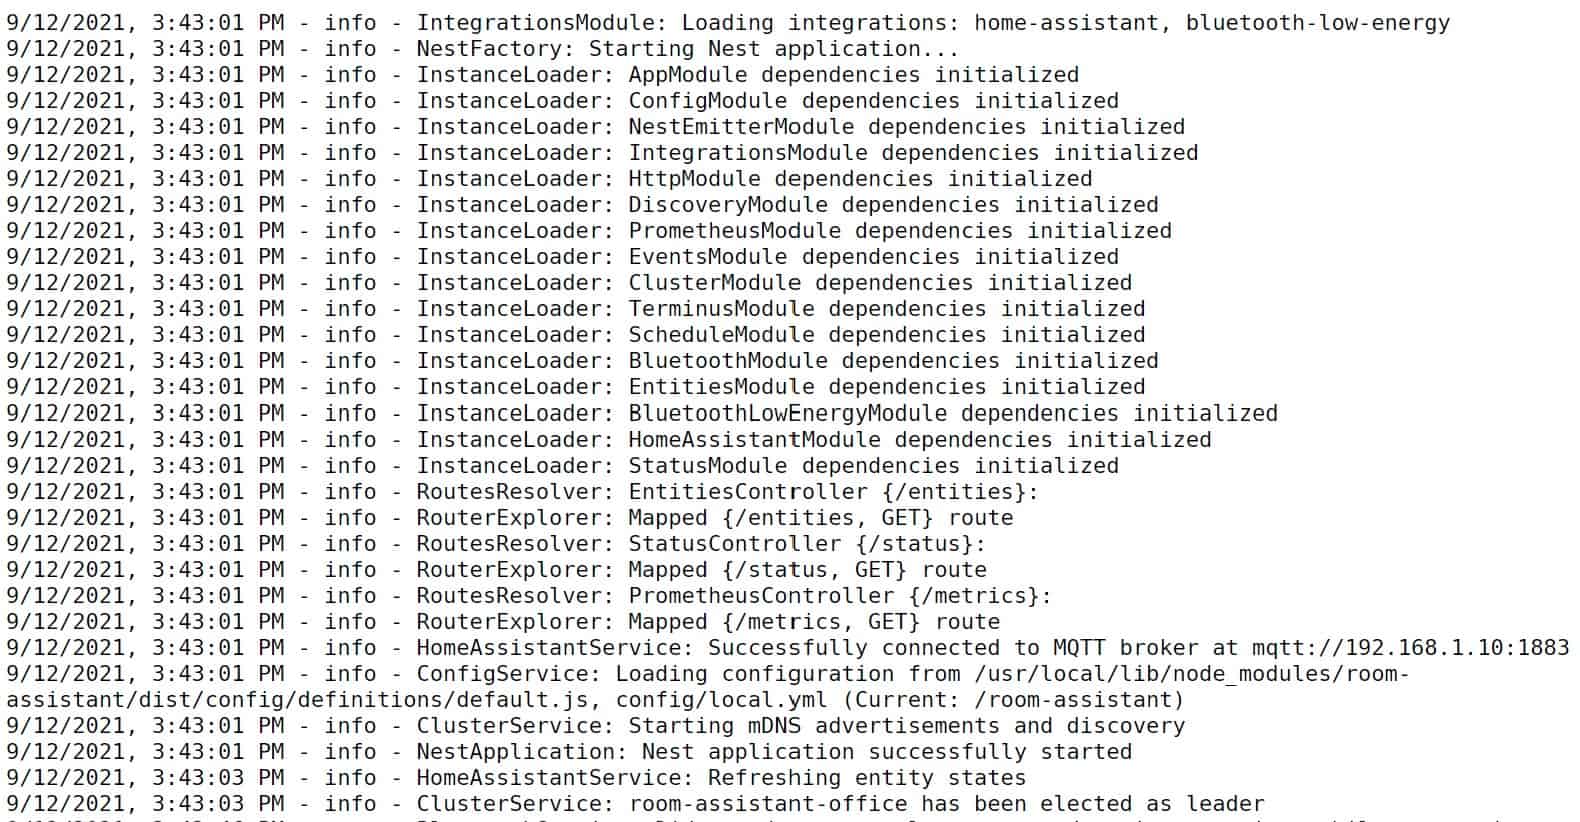
With the configuration complete, restart or start the room-assistant Docker container. Check the logs to make sure everything is running as it should be. If no errors appear, you are ready to add further integrations.
The configuration below shows how I set up the Bluetooth Low Energy integration. First add it to the list of integrations using bluetoothLowEnergy. Then add a device to the allow list. This is needed because room-assistant won’t just start tracking every BLE device in its proximity, as you would be flooded with updates on devices you want to avoid tracking. Using the tagOverrides you can add a custom name, which will make identifying the device much easier. The ID will replace the string of numbers and letters (in this case, the device won’t be called d80100053163 but liams_tag), and the name will be displayed in applications such as Home Assistant.
global:
  instanceName: room-assistant-little-office
  integrations:
    - homeAssistant
    - bluetoothLowEnergy
homeAssistant:
  mqttUrl: 'mqtt://192.168.1.10:1883'
  mqttOptions:
    username: YOUR-MQTT-USERNAME
    password: YOUR-MQTT-PASSWORD
bluetoothLowEnergy:
  timeout: 60
  allowlist:
  - d80100053163
  tagOverrides:
    d80100053163:
      id: liam_tag
      name: Liam's Tag
Further integrations and a more in-depth explanation of the local.yaml file, I recommend reading through the room-assistant guides provided on the website. To be able to integrate Android and iOS devices, you will need to install a companion app, such as the Home Assistant companion app on Android or the room-assistant app for iOS.


