In both Sonarr and Radarr, you have the option of using so-called hardlinks instead of copying the files you’ve downloaded using your favourite client. The latter option would duplicate the files and delete them from your download folder at a later point. Or, if you wanted to continue seeding the downloaded file, you would have to permanently keep two copies and thus occupying more disk space than you have to. In both cases, the better solution is using a hardlink. A hardlink allows for what appear to be two separate files to point at the same blocks of data on a drive without taking up any extra space.
In the following image, you will see an example of how such a hardlink could look like in the real life. Two files (the outermost fields in the image) exist, which both point to the same data. One file is located in a media folder and has been renamed, while the other has been left in the downloader folder. When viewed in a file manager, both files will appear independent of one another and there is no indication that they share the same data. You could copy either file to a local drive, and you would end up with the original video and not just a shortcut.

Practically, a hardlink allows you to easily set your BitTorrent or Usenet client to download your files to one directory and then leaving them in that directory while also appearing in a media folder where your completed downloads are moved to (except they aren’t moved at all). That way, you can continue to seed the file while an application such as Plex Media Server will be able to see it in your media folder. The filename in your media folder can even be cleaned up without issues.
Why use hardlinks instead of copying
Using a hardlink for your download is the easiest way of giving back to the community. A hardlink will allow you to neatly organize all of your media files while continuing to seed them. You have the added benefit of seeing the file in your media folder almost instantly, and you do not have to wait for it to be completely copied over.
Using Sonarr and Radarr hardlinks on Unraid
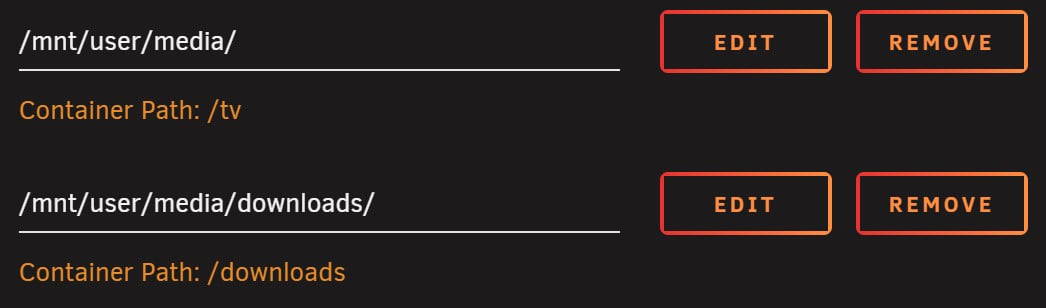
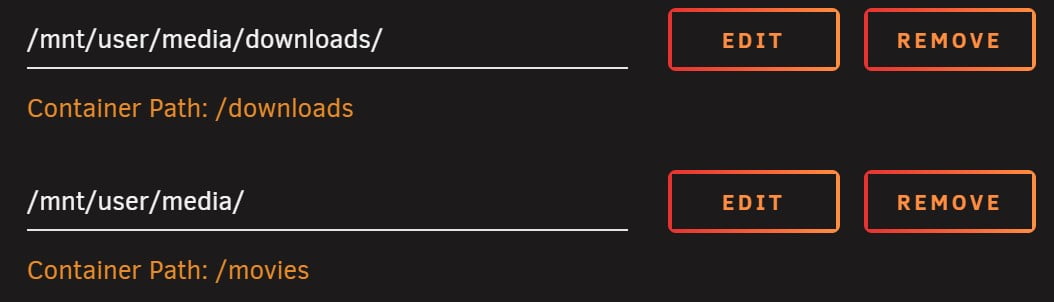
To be able to use hardlinks on Unraid you will need to have your downloads, televisions shows, and films all located under the same parent folder. You can still organize your films and television shows into individual folders, the important part is the shared parent folder. In this example, the parent folder is simply named media.
/media
    /downloads
    /films
        /Big Buck Bunny/big-buck-bunny.mkv
    /tvshows
The downside of doing things this way is that you won’t be able to cache your download folder and your hard drives will be spun up more frequently to seed the data located on them. To speed up the configuration, you can simply map the media folder in the Docker settings of Transmission, Sonarr, and Radarr, as I have done in the screenshots below.
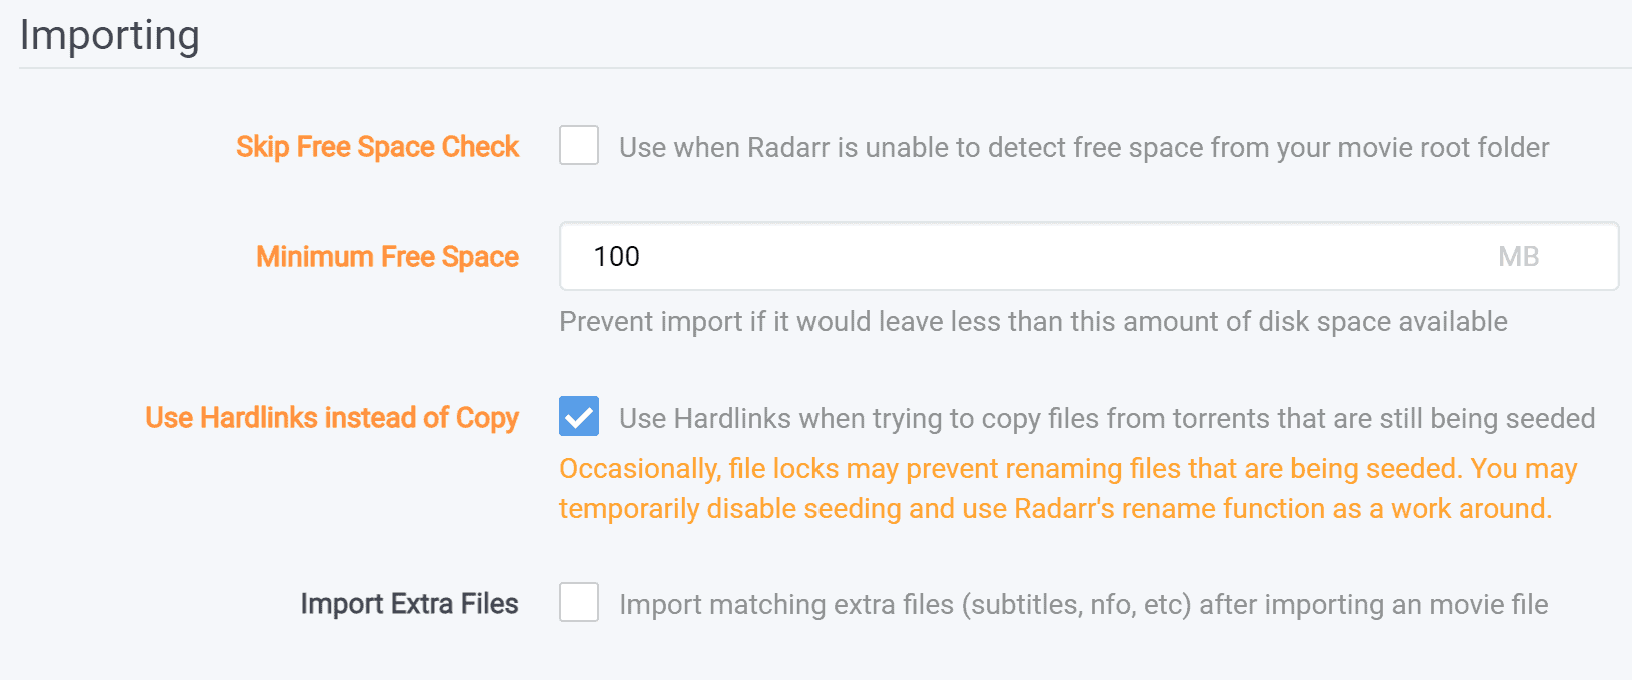
Enabling hardlinks in Sonarr and Radarr
Once your parent folder has been set up and the Docker containers configured, you can enable hardlinks in Sonarr and Radarr. To do so, enter the settings and navigate to the tab ‘media management’. From there, enable the advanced settings, and enable the item titled ‘Use Hardlinks instead of Copy’ under the import group.